Hoist Brake Inspection Checklist for Safer Lifts
Use this hoist brake inspection checklist to spot defects, support LOLER and PUWER compliance, and prevent avoidable crane downtime in busy facilities.
CraneCert · 18 October 2026
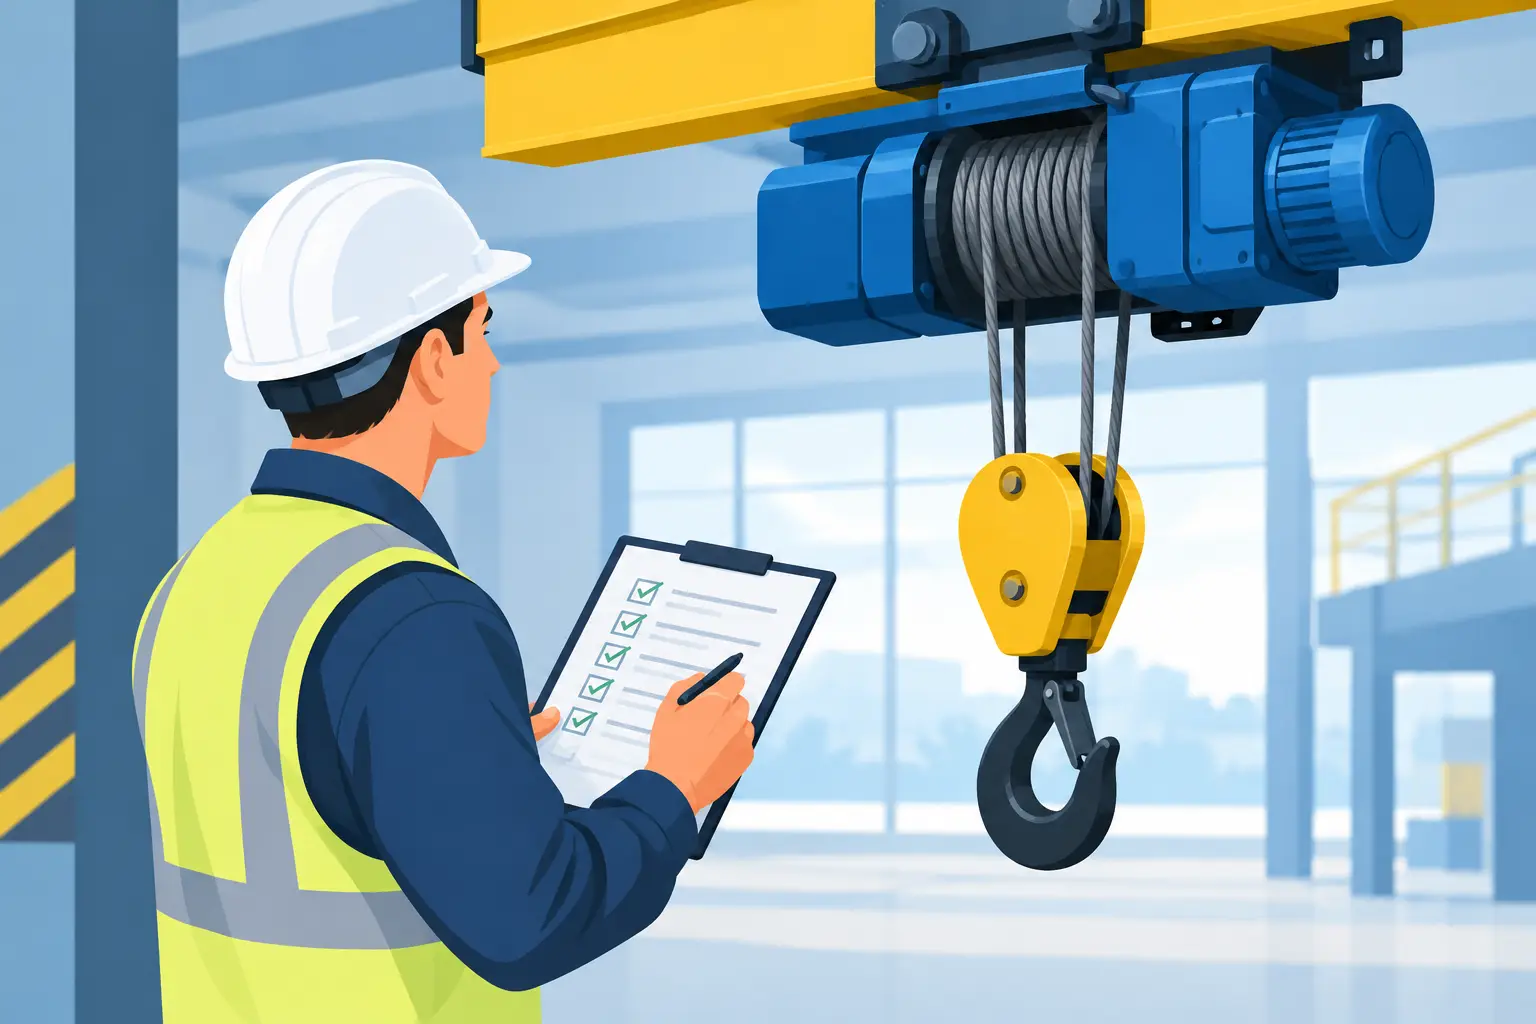
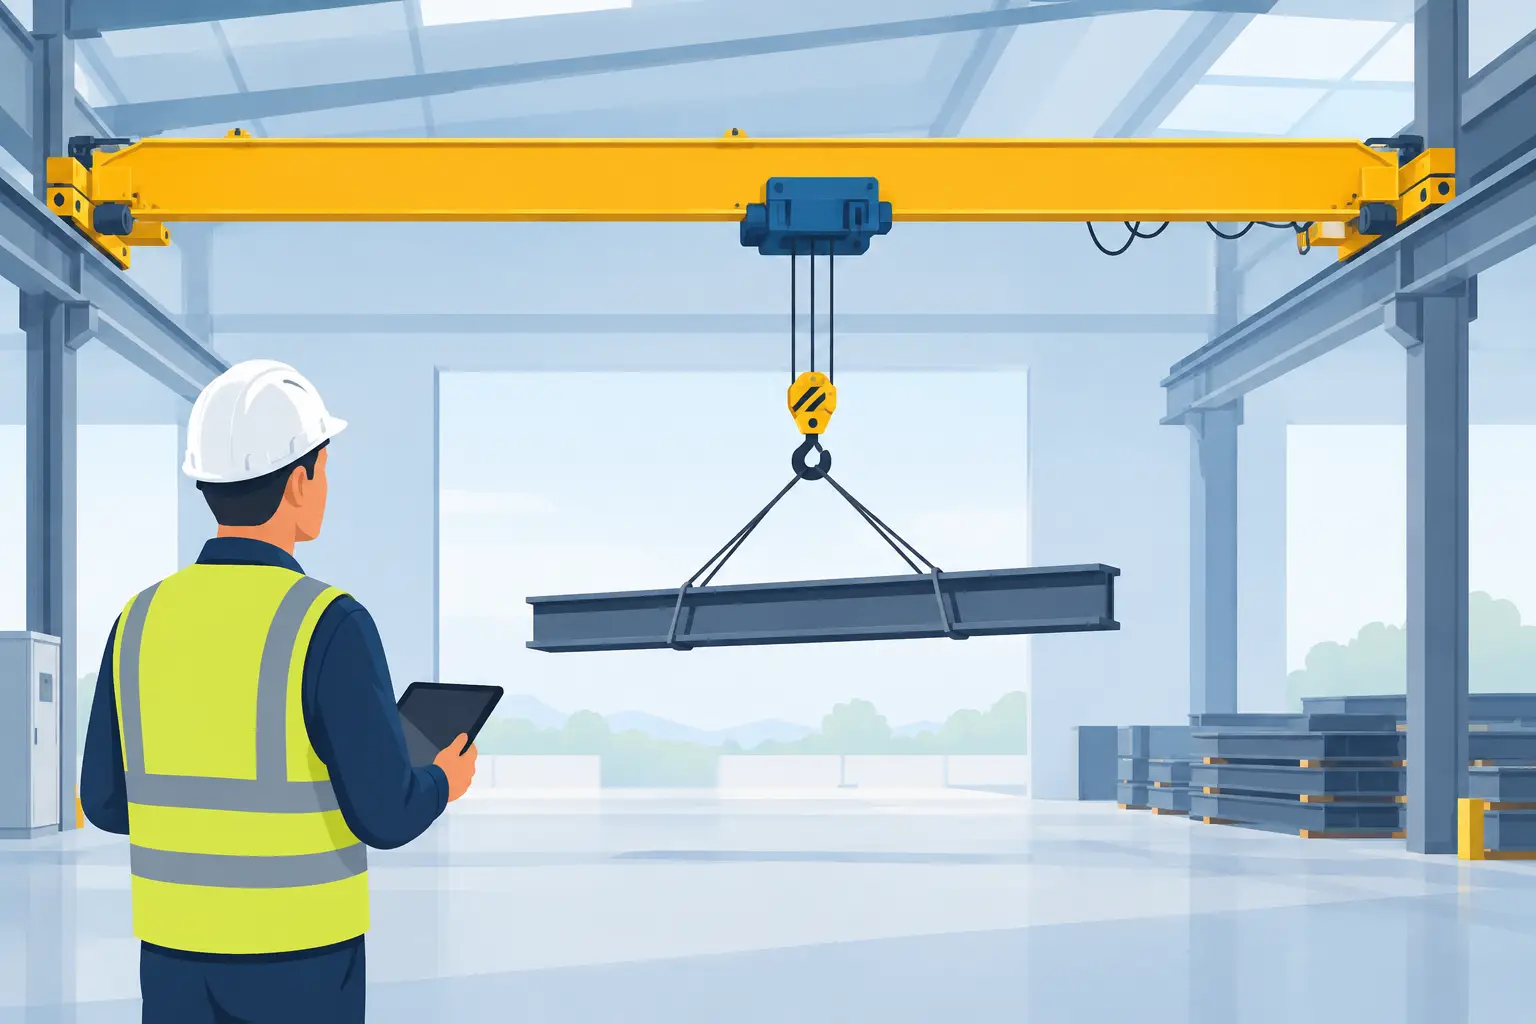
A hoist brake that slips by only a few millimetres can become a serious lifting risk when the load is at height. Your hoist brake inspection checklist should therefore be more than a tick-box exercise: it needs to identify loss of holding ability early, protect people beneath the lifting area and prevent a minor defect becoming unplanned production downtime.
The brake is a safety-critical part of an electric wire-rope or chain hoist. It holds the load when travel stops and helps control movement as the hoist starts and stops. If it is contaminated, worn, incorrectly adjusted or electrically unreliable, the brake may not hold the rated load as intended. The result can be load creep, uncontrolled lowering, damage to plant and a failed examination.
Hoist brake inspection checklist: what to check
The checks below are a practical framework for routine pre-use checks and planned maintenance. They do not replace a LOLER thorough examination by a competent person, nor the manufacturer-specific instructions for the hoist installed on your crane.
Before inspecting, isolate the equipment where access to the brake assembly is required. Apply site lock-off arrangements, prevent unauthorised use and make sure a suspended load cannot be present. Brake covers should only be removed by a trained, competent engineer.
1. Check the hoist’s behaviour before opening anything
Start with operational evidence. Ask operators whether the hook has crept down after stopping, whether the hoist hesitates before lifting, or whether it makes an unusual scraping, chattering or humming sound. These are useful warning signs, but they are not a diagnosis on their own.
With an appropriate test load and a clear exclusion zone, observe whether the hoist stops promptly and holds the load without drift. Do not exceed the safe working load to ‘prove’ the brake. A brake test must be controlled and carried out to the manufacturer’s procedure; overload testing can create risk and may damage equipment.
Record any abnormal movement, even if the brake later appears to hold. Intermittent defects are common with worn contactors, weak coils, damaged rectifiers and contaminated friction surfaces.
2. Inspect brake condition and adjustment
A competent engineer should inspect the brake assembly for signs of wear or damage. This normally includes the brake disc or lining, armature plate, springs, hub or coupling, fasteners and air gap where applicable. The acceptable wear limit and setting are specific to the hoist model. A generic adjustment figure is not safe.
Look for heat discolouration, glazing, scoring, cracks, loose components and friction material that is close to its wear limit. Oil, grease, water or dust on brake faces demands investigation. Cleaning the brake without finding the source of contamination simply delays the next failure. A leaking gearbox seal, unsuitable lubrication practice or water ingress may be the real issue.
The engineer should also confirm that guards and covers are secure once work is complete. An exposed rotating or live component creates a separate PUWER concern, even where the brake itself has been correctly serviced.
3. Verify the electrical release circuit
Most electric hoist brakes are spring-applied and electrically released. That means the brake should apply when power is removed, while the release circuit opens the brake for controlled motion. Faults in the electrical side can therefore show up as poor lifting performance, overheating or failure to release.
Inspection should cover brake coil condition, supply voltage, rectifier operation, terminals, wiring, contactors and control connections. Burnt terminals, loose wiring and repeated contactor failure can cause voltage drop at the brake. A coil operating below its required voltage may chatter or fail to release fully, accelerating wear.
Do not assume that a mechanical brake fault is mechanical only. Equally, replacing an electrical component without checking the brake air gap and lining condition can leave the underlying defect unresolved.
4. Confirm lifting controls and limit functions
The brake works with the hoist controls, gearbox and limit devices. Test the pendant or radio controls for positive response in both directions, correct emergency-stop function and reliable stopping. Check that upper and lower limit functions operate as designed, where fitted.
A failed upper limit can force the hook block into the hoist body, placing shock load on components and potentially affecting brake performance. Poorly maintained controls can also cause abrupt stopping or repeated inching, which increases brake duty. Record the operating symptoms alongside the brake findings so the repair scope addresses the complete system.
5. Review records, duty and previous defects
A brake inspection is stronger when it uses the equipment history. Review the latest LOLER thorough examination report, planned maintenance record, defect reports and any operator pre-use check sheets. Repeated advisories for brake adjustment, abnormal noise or load drift need escalation, not another isolated repair.
Consider how the hoist is actually being used. A hoist lifting near capacity throughout a shift, operating at high starts per hour, or working in a foundry, galvanising, outdoor or dusty environment will need more attention than an occasional maintenance lift. The inspection interval should reflect duty cycle, environment, manufacturer guidance and the findings from previous service visits.
What operators should report immediately
Operators are often first to notice a changing brake. They should stop using the hoist, make the lifting equipment unavailable and report the issue if they see load drift, delayed stopping, an inability to lift cleanly, unusual noise or burning smells. Other stop-and-report signs include repeated tripping, a brake that remains energised when it should not, visible oil near the brake area, or a damaged brake cover.
A simple rule helps: if the hoist does not stop and hold as expected, it is not available for lifting. Do not allow an operator to compensate by holding the control button, altering the load position or relying on a second piece of equipment. Quarantining the crane may disrupt the shift, but an uncontrolled load will disrupt far more.
Routine checks, maintenance and LOLER are different jobs
These responsibilities are connected, but they are not interchangeable. Operators should carry out routine pre-use checks based on site procedures and report defects. Planned maintenance by a competent lifting-equipment engineer keeps brakes, motors, controls and mechanical components in serviceable condition. A LOLER thorough examination is a statutory examination carried out at the required interval by a competent person.
For most lifting equipment used to lift goods, LOLER requires thorough examination at least every 12 months, unless there is an examination scheme or other circumstances requiring a different interval. Equipment used for lifting people has a shorter interval. Your crane may also need maintenance visits more often than its LOLER examination, particularly where it supports continuous production.
PUWER adds another practical requirement: work equipment must be maintained in an efficient state, in efficient working order and in good repair. A current LOLER report does not make it acceptable to ignore a brake fault found the following week. Facilities teams need a live defect process, clear isolation authority and records that show when the issue was identified, repaired and returned to service.
Make the checklist auditable, not just usable
A useful inspection record identifies the crane and hoist clearly, including location, asset number, make, model, serial number and safe working load. It records the inspection date, engineer or operator, findings, measurements where relevant, defects raised, actions taken and the equipment’s status: safe to use, restricted, or removed from service.
Photographs can help where there is contamination, wear or physical damage. They also make recurring defects easier to explain to production and management. Cloud-managed records give maintenance managers a faster way to retrieve certificates and repair history during an audit, without searching through site folders or emails.
Avoid vague entries such as ‘brake checked, OK’. A better record states what was checked and what was found: for example, whether the hoist held the test load, whether friction surfaces were clean, and whether the electrical release circuit operated correctly. Clear evidence protects your people and supports better maintenance decisions.
When repair is not enough
Brake parts can often be repaired or replaced, but repeated failures may point to a wider issue. An ageing hoist with obsolete components, unsuitable duty rating, poor environmental protection or frequent electrical faults can become more expensive to keep alive than to upgrade. The right decision depends on downtime exposure, spare-parts availability, the lift’s criticality and whether the current equipment still suits the production process.
Do not make that decision on brake cost alone. Include lost output, emergency call-outs, safety risk and the time needed to source parts. A planned upgrade can usually be scheduled around production; a brake failure rarely gives that choice.
If your team has reported even a small amount of load creep or inconsistent stopping, treat it as a reason to inspect now rather than a fault to watch. CraneCert can help turn that report into a documented repair plan, clear compliance evidence and a safer return to lifting.